TABLE TOP TERRARIUM PART 2: HUMIDITY HOUSE
If you’re familiar with me on Instagram, then you know how important it is for me to provide my plant babies with the humidity they require. When I saw Root and Vessel’s Tri-Terrarium that came with the dome, I was instantly sparked with ideas on how I can use it in the apartment. First was the Forest Floor, a more traditional way of using the terrarium, as you can read here in Part 1. My second idea was using it as a humidity house which can be used for new plants that are acclimating to the apartment. This is in general perfect for plants that need that extra humidity to thrive.
PART 2: Humidity House
I hope to create and set up a vivarium this summer and filling it with jewel orchids, so I’ve been purchasing the plants I want as I find them. Since they require quiet a bit of humidity to stay happy, I thought keeping them here in the Tri-Terrarium was a perfect solution as a temporary home filled with humidity. Check out my steps below on how I step up this humidity house in the Tri-Terrarium and Napa Tray planter.

Now you can use this for any plant that might require more humidity, acclimating or regrowing. The concentrated humidity will really help.
Supplies
Tri-Pot Terrarium (Taupe color, *coupon code below*)
Napa Tray (Taupe color, *coupon Code below*)
3 small Jewel Orchids ( feel free to swap these out with anything that might require more humidity)
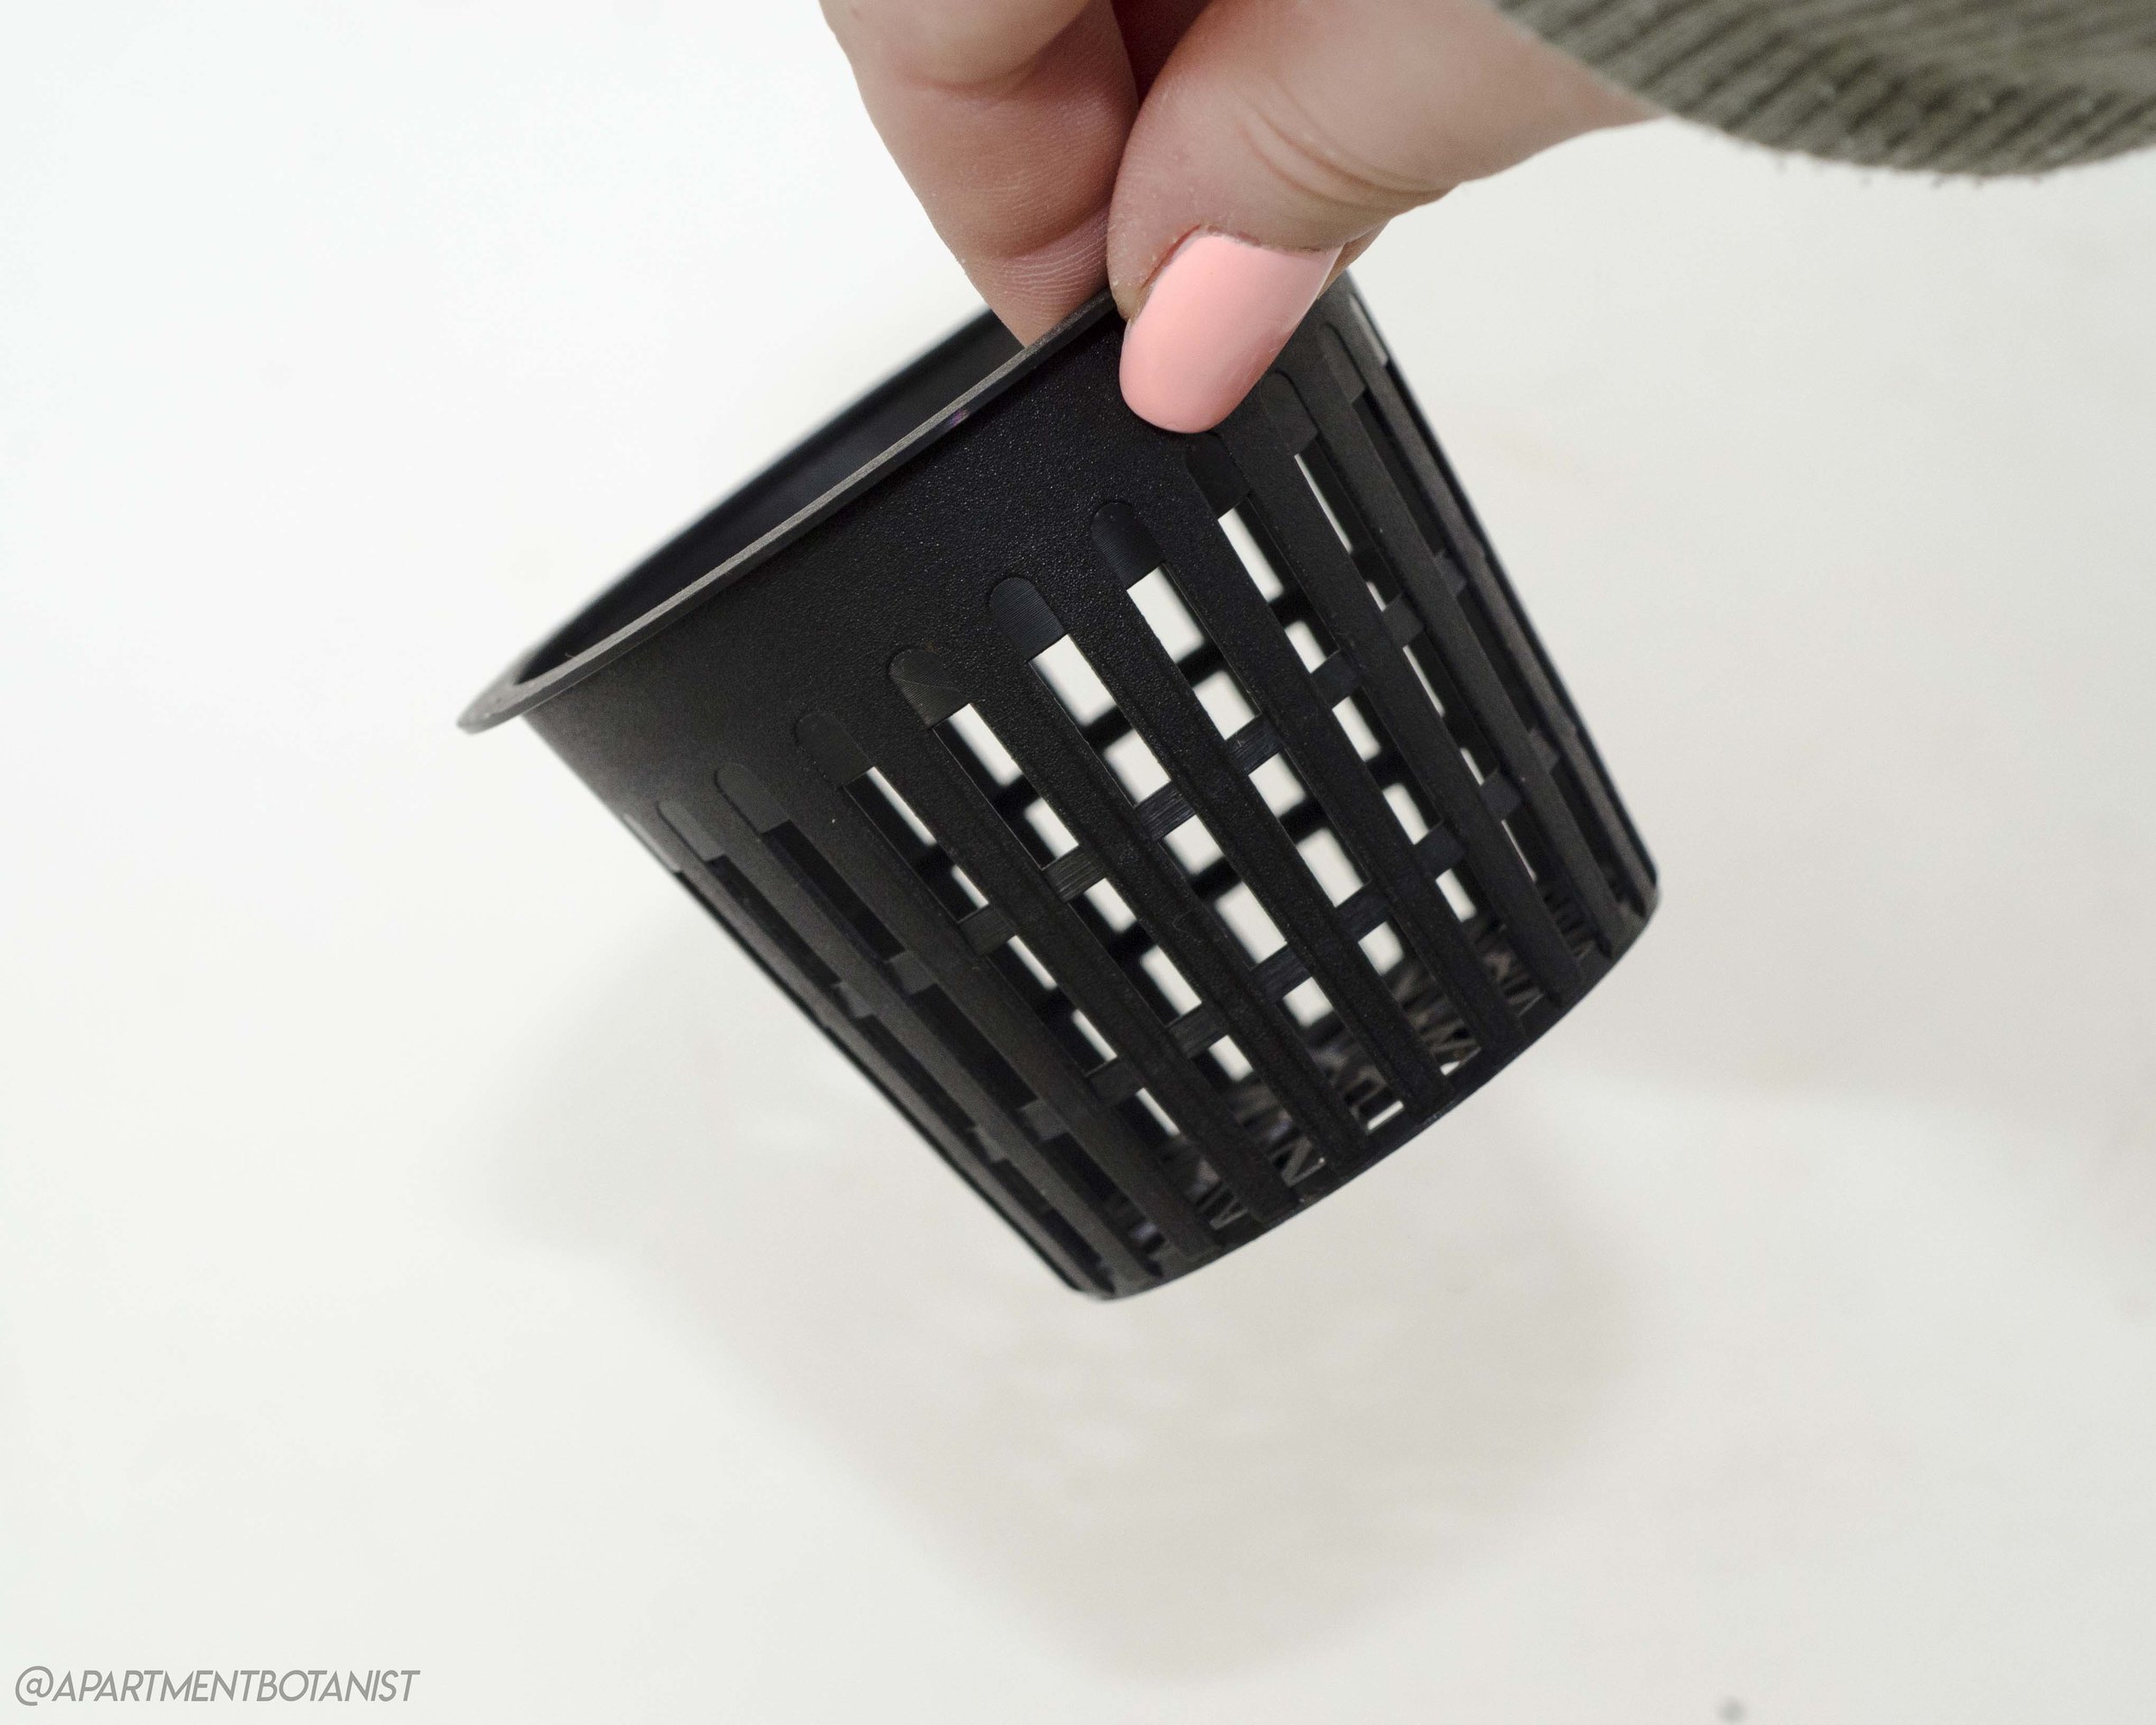
Slotted 3” Pots
Hydro Balls (leca clay pebbles)
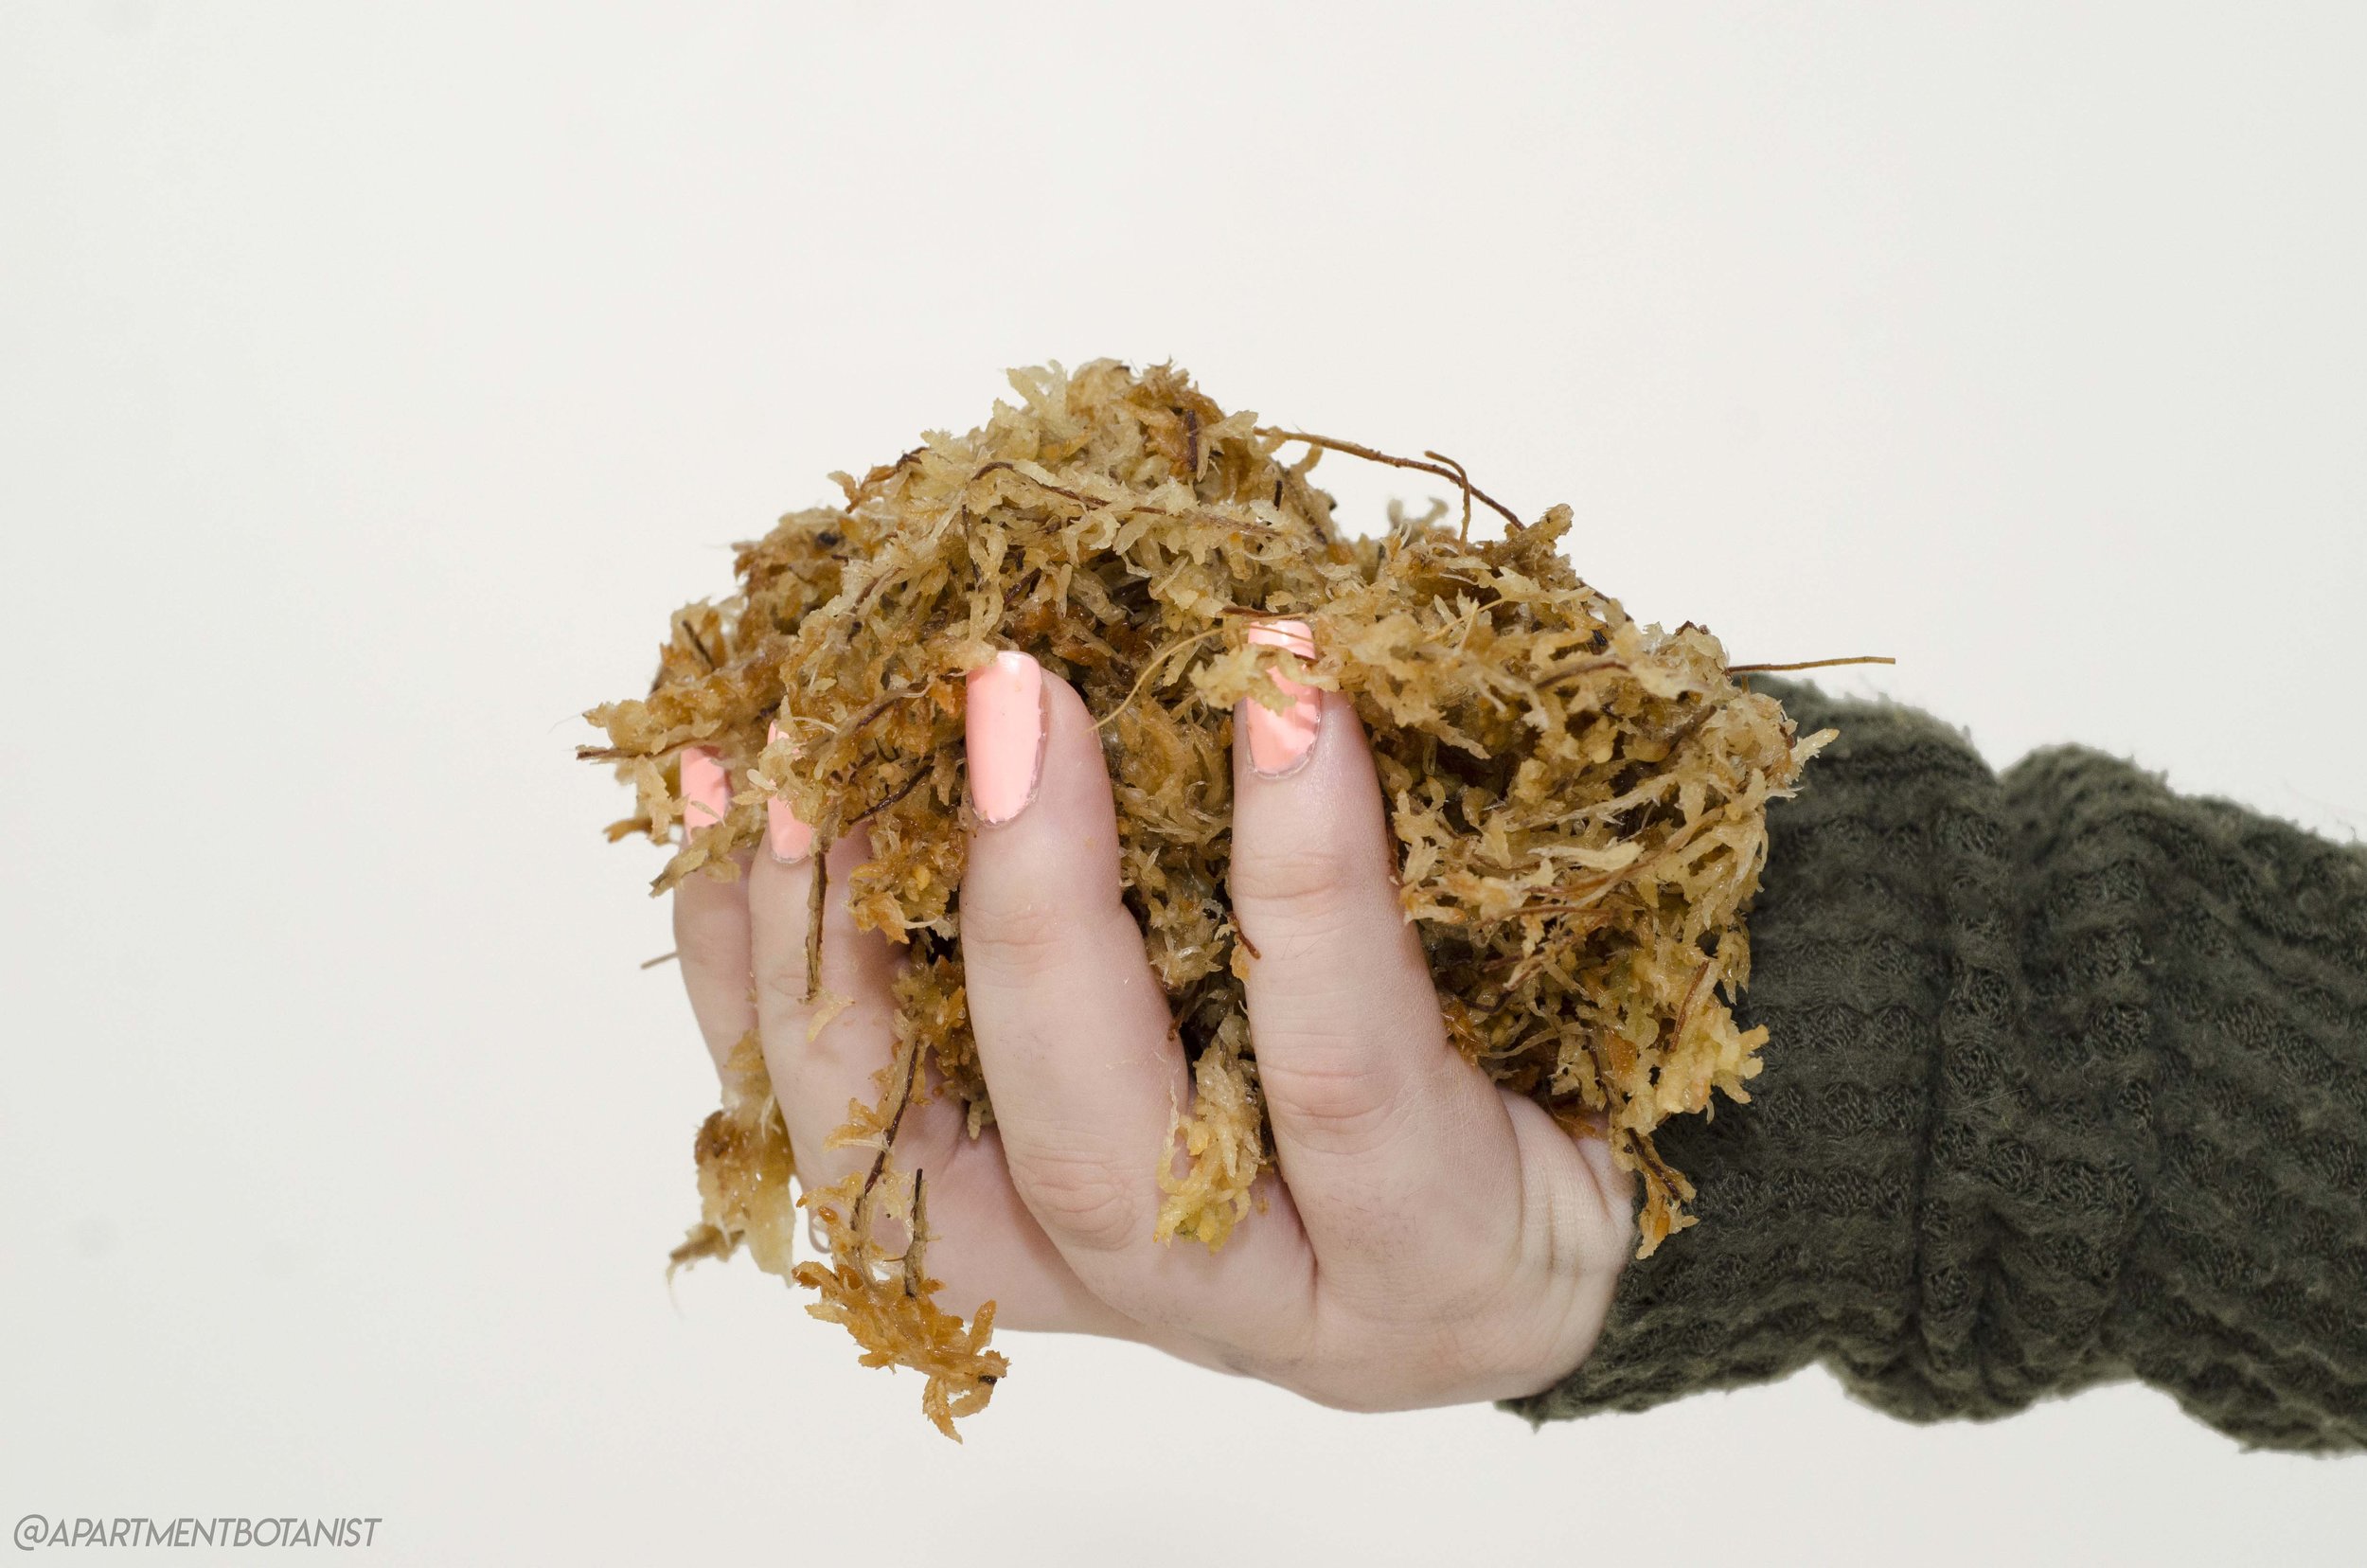
Sphagnum Moss


Save 10% on your order of Root and Vessel by using coupon code Botanist10
I’m including a link to my Amazon Storefront, where I’ve put a list of the supplies for Terrariums
Let’s Meet Plants!

Dossinochilus Dreamcatcher
Jewel Orchid

Ludochilus Poly
Jewel Orchid

Dossisia Dominyi ‘Judy’
Jewel Orchid
Let’s Start!

-Rinse and dry all your containers and set the Napa Tray and dome cover aside. We’ll need it again later on.
-Remove the bottom black tray


-Flip your Tri- Terrarium planter over, we are going to keep the plug in for this set up.
-Start pouring in the hydro balls to create a base layer for the pots to stand on.

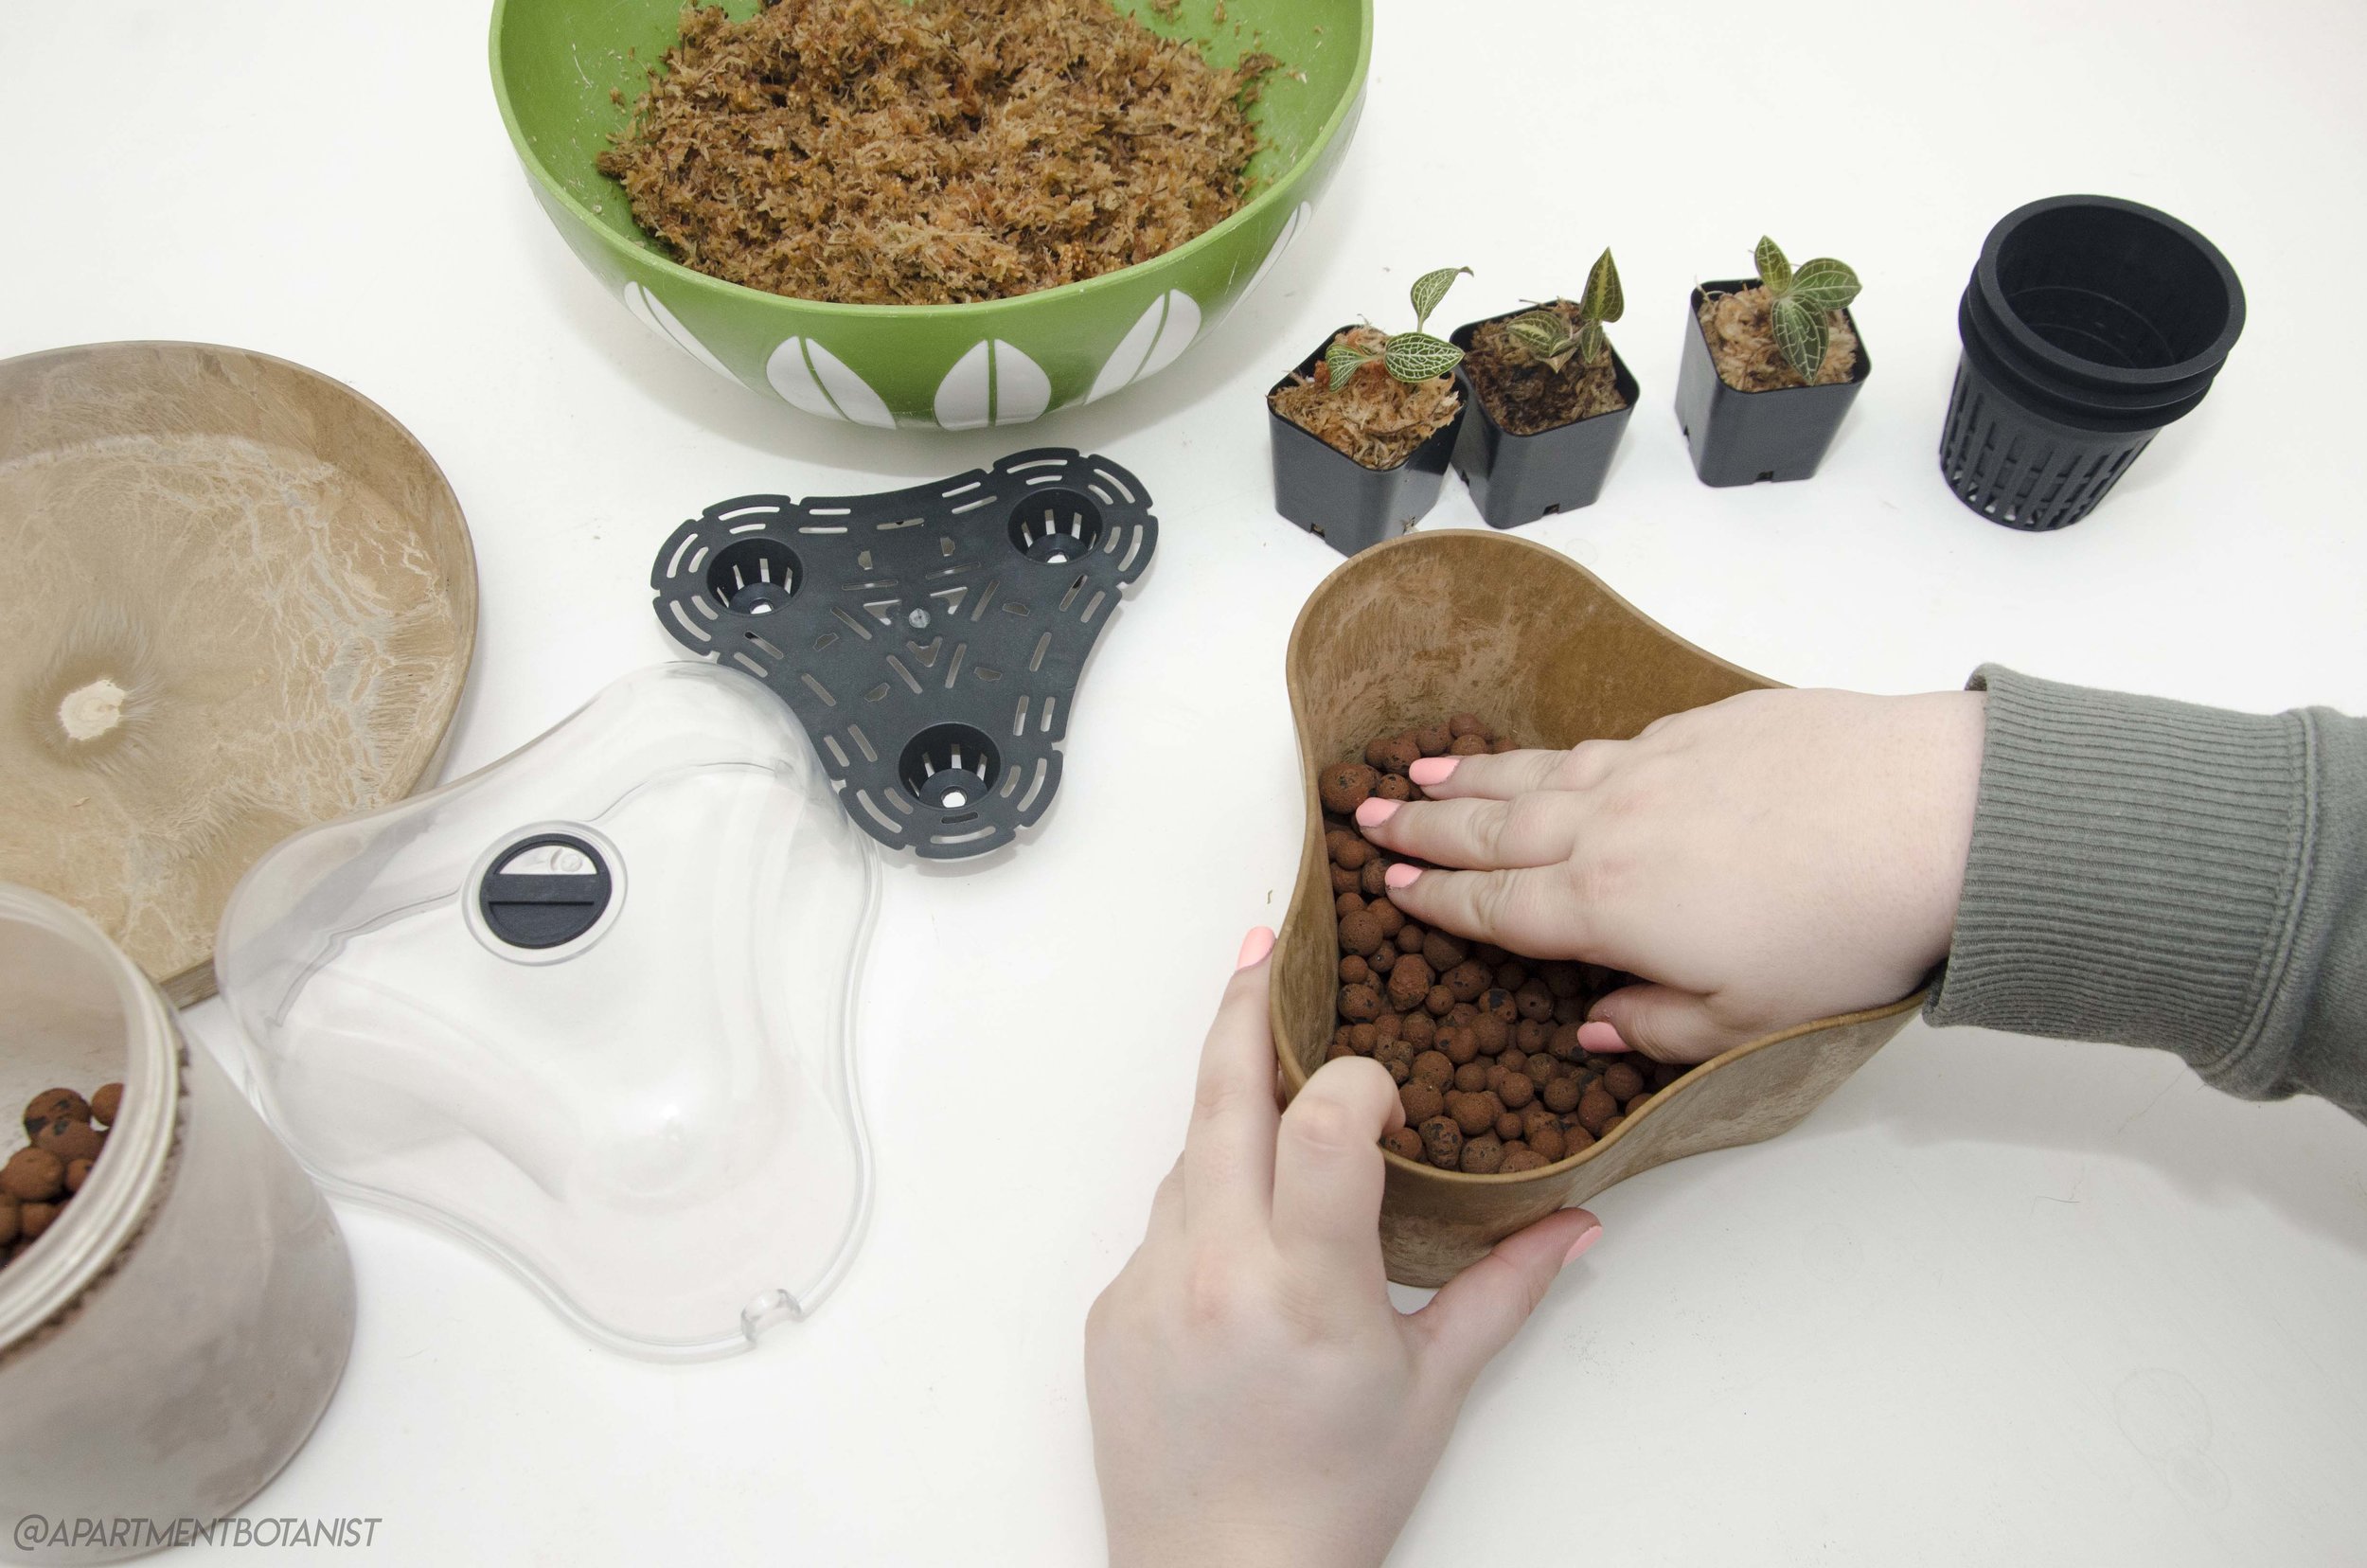
-Flatten them out trying your best to create an even surface
-Next, grab your 3 inch slotted pots and test if the levels are right. you want it to be fairly flush to the top.


-Once you have that set, start taking the plants out of their original medium and give them fresh sphagnum moss or soil.
-Since I’m working with Jewel Orchids, I’m going to want to plant them in sphagnum moss. For other plants that require soil, you can refer to my soil mix in Part 1


-Finish potting up your plant.
-Repeat for all your plants.

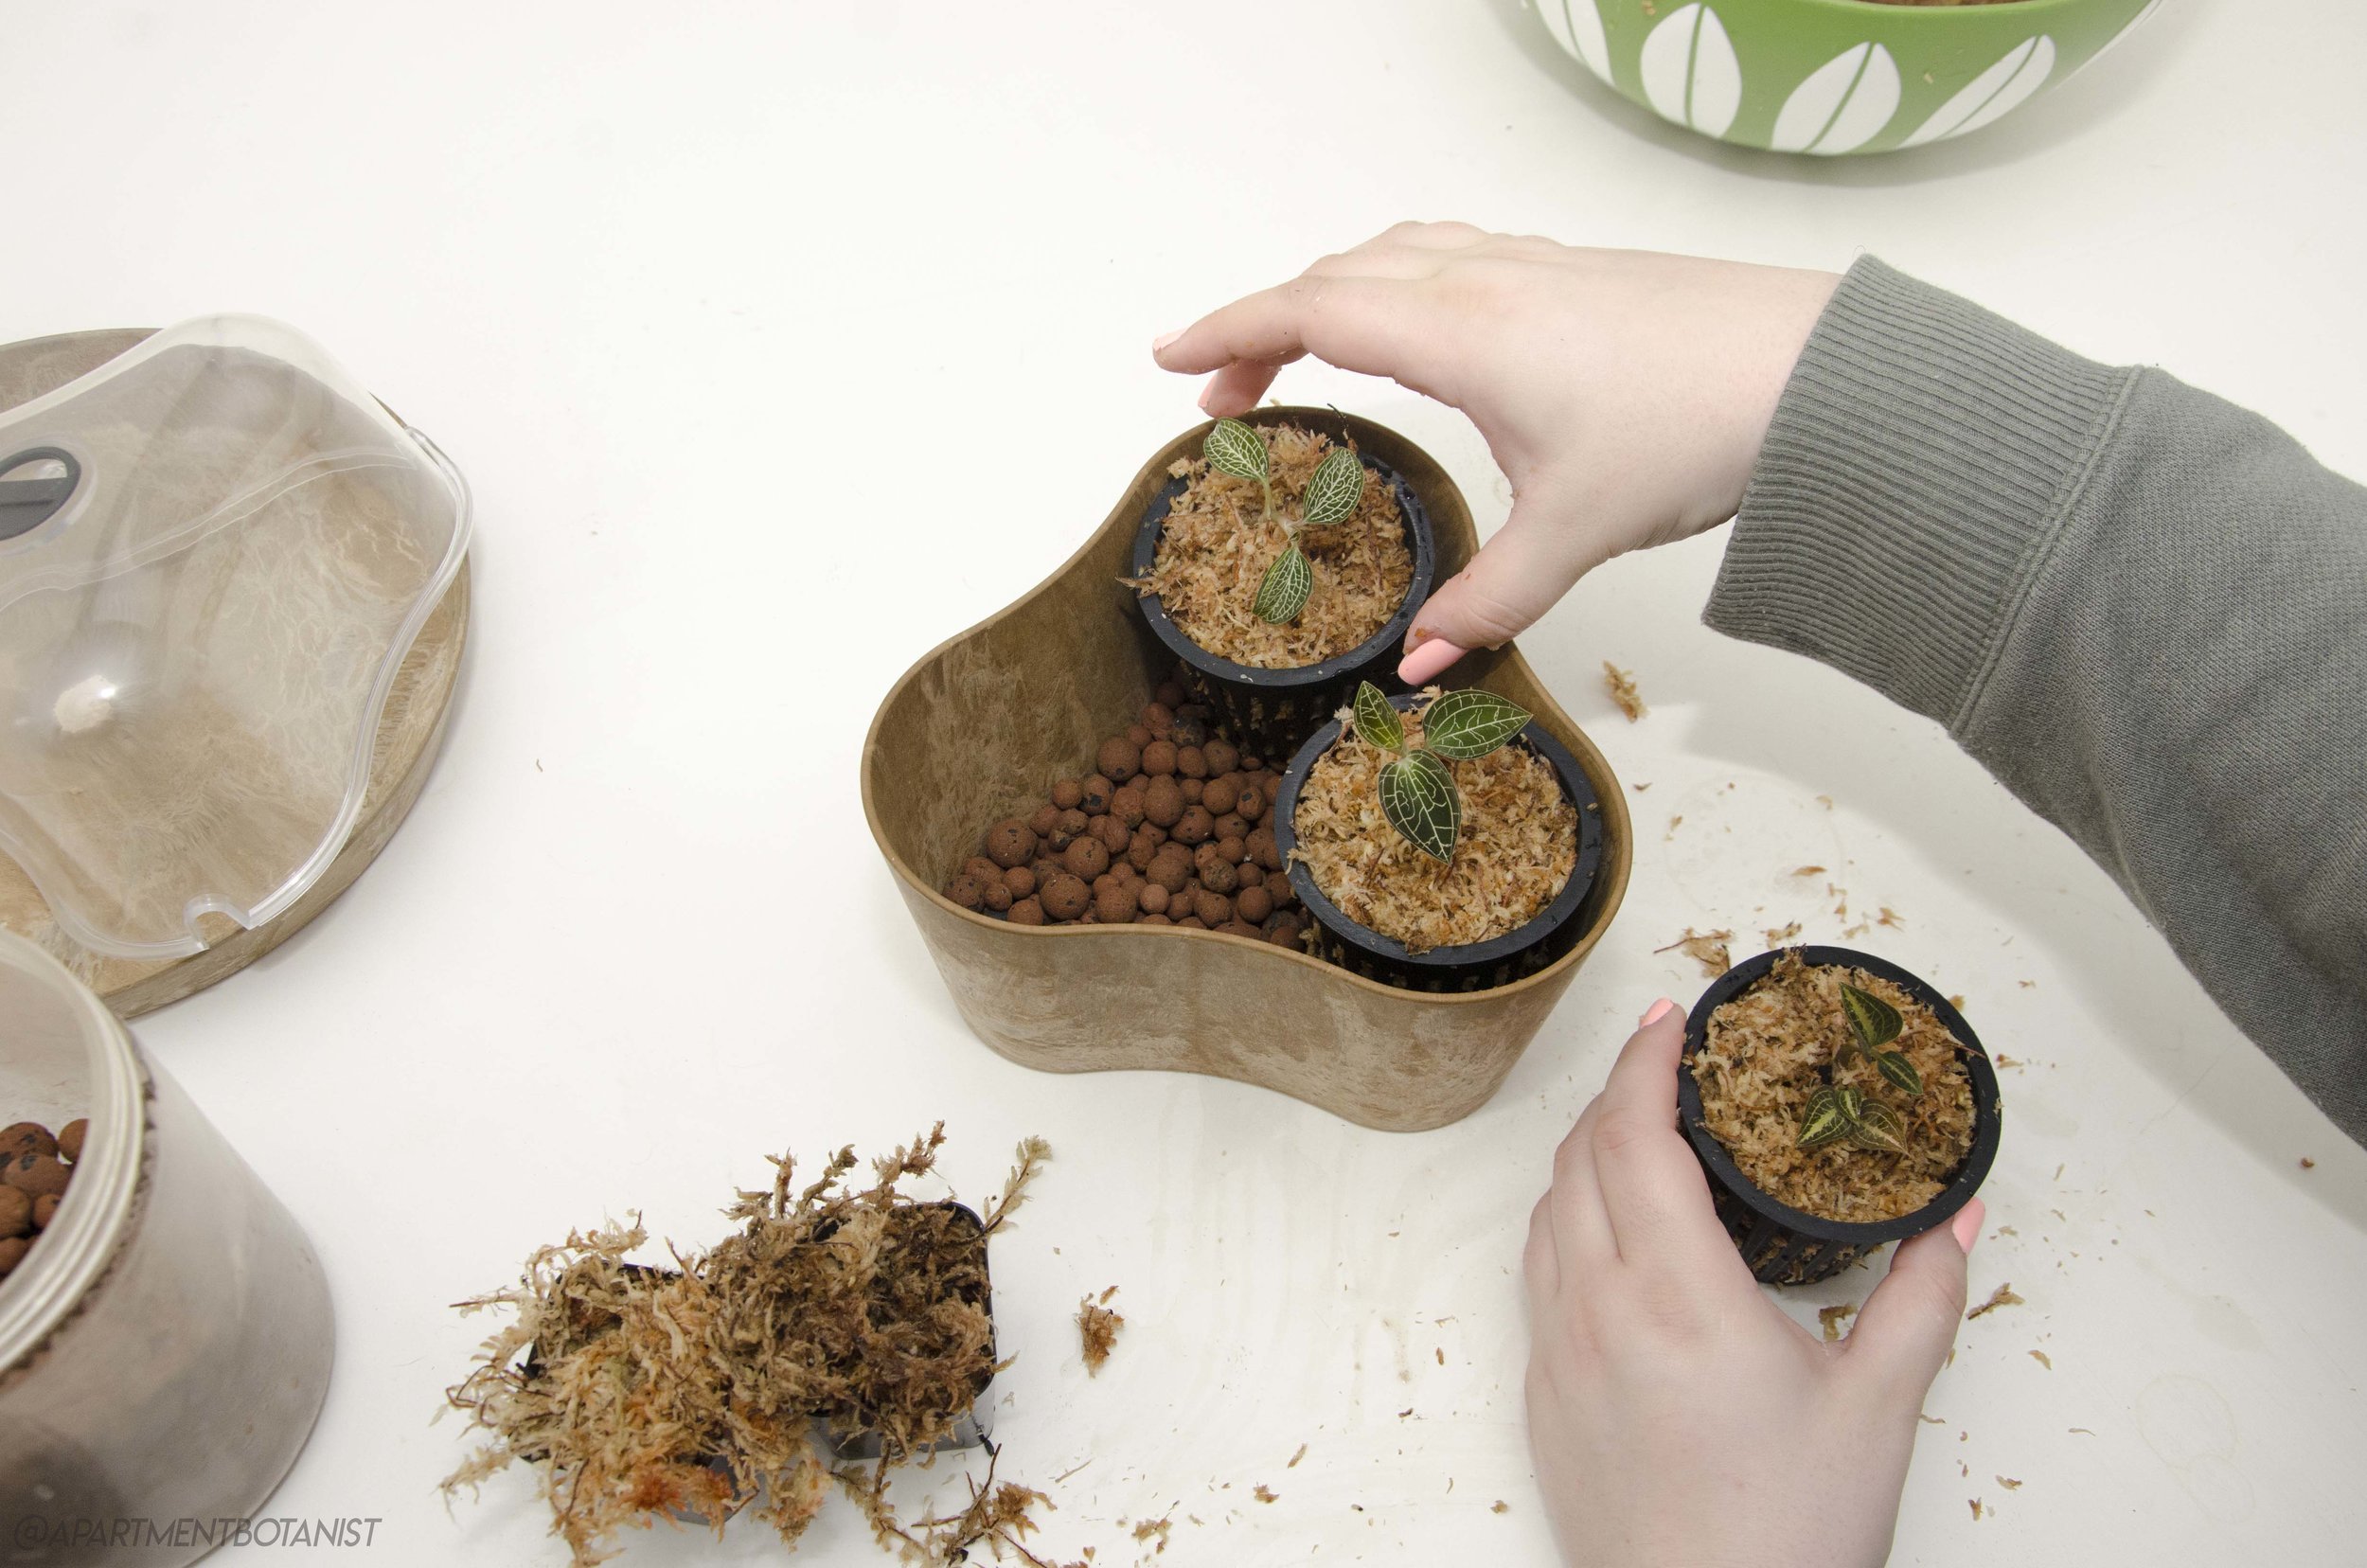
-Once your done, begin placing the potted plants into the Tri-Terrarium.
-Next, grab some more Hydro balls to fill in the space in between the pots.


-Once your all done, feel free to water or mist the plants.
-Go ahead and place the Tri-Terrarium on the Napa Tray and grab your dome cover.

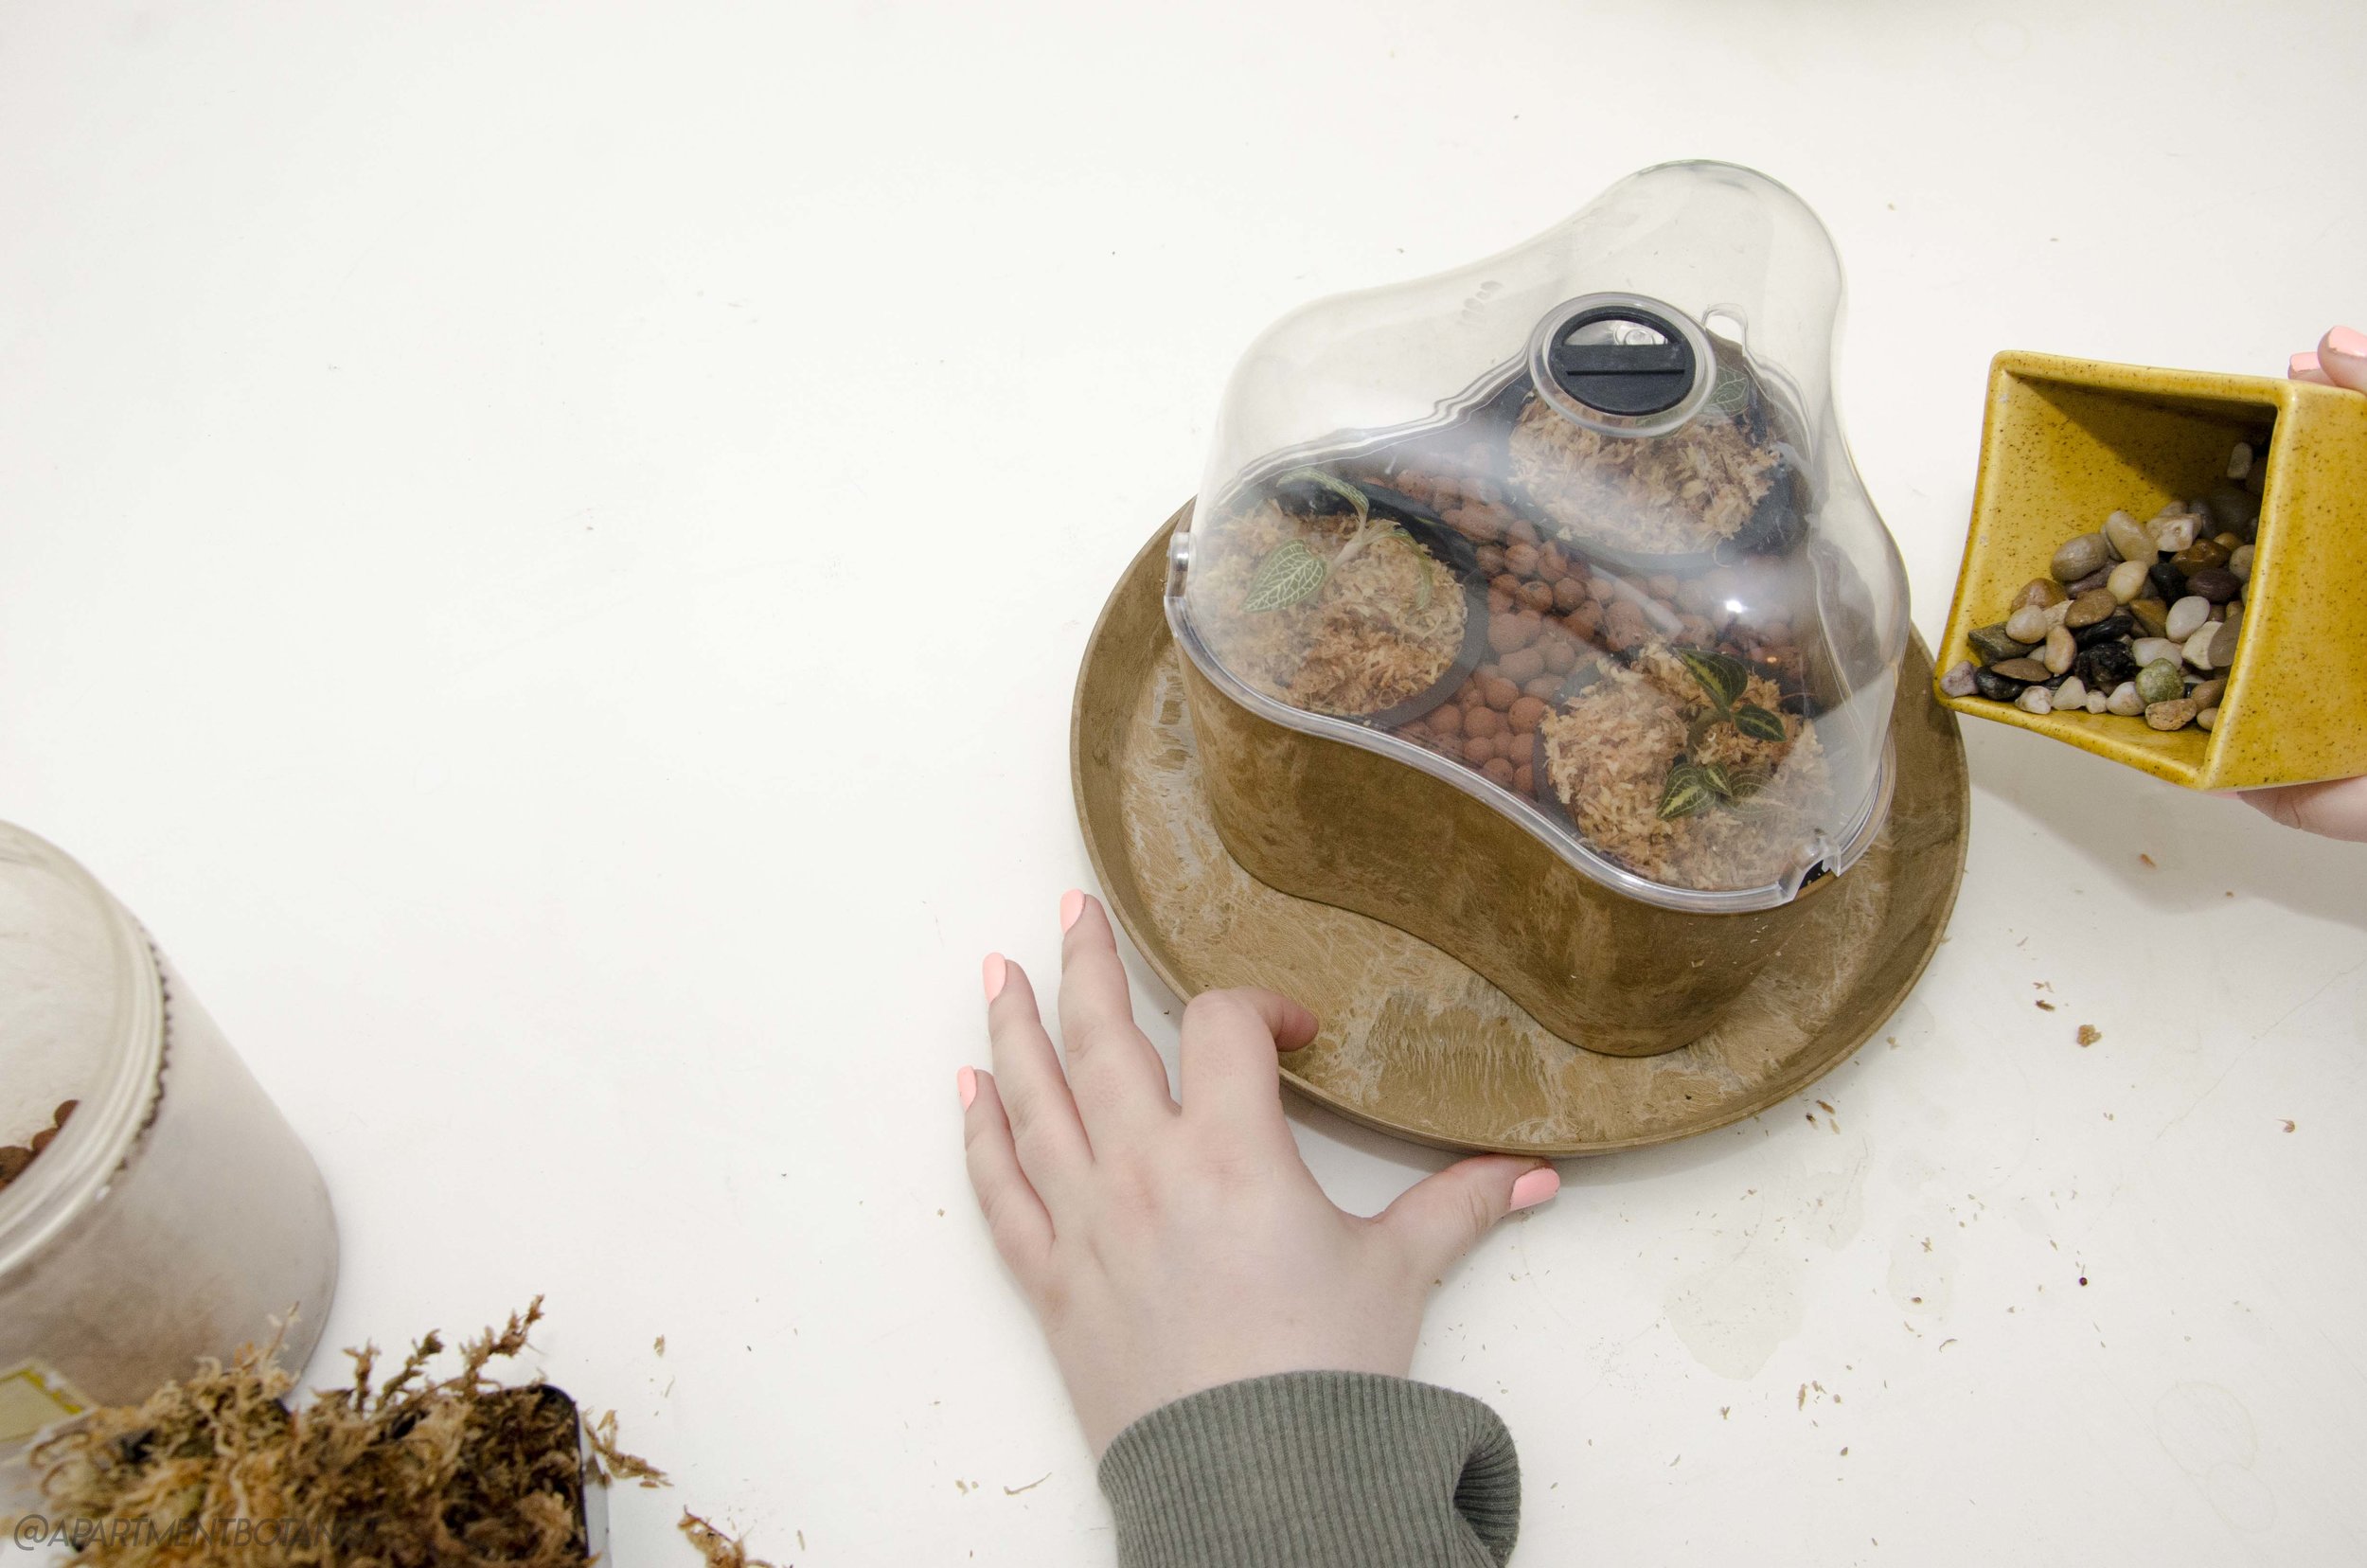
-Lastly, I placed pebbles and water around the tray to act as another source of humidity. This step is optional.
Here’s how it turned out!


The great aspect of the dome part is that it has vents for air flow and circulation.
It also really helps keep the plants happy with humidity.


I hope you enjoyed this step by step guide to creating your own Table Top Terrarium Humidity House! Let me know in the comments below or tag me on Instagram, @apartmentbotanist, if you give this project a go, I would love to see what you create!
Check out Part 1 and my other unique way to use this Tri-Terrarium.
You can save 10% on your order of Root and Vessel by using coupon code Botanist10
_Alessia